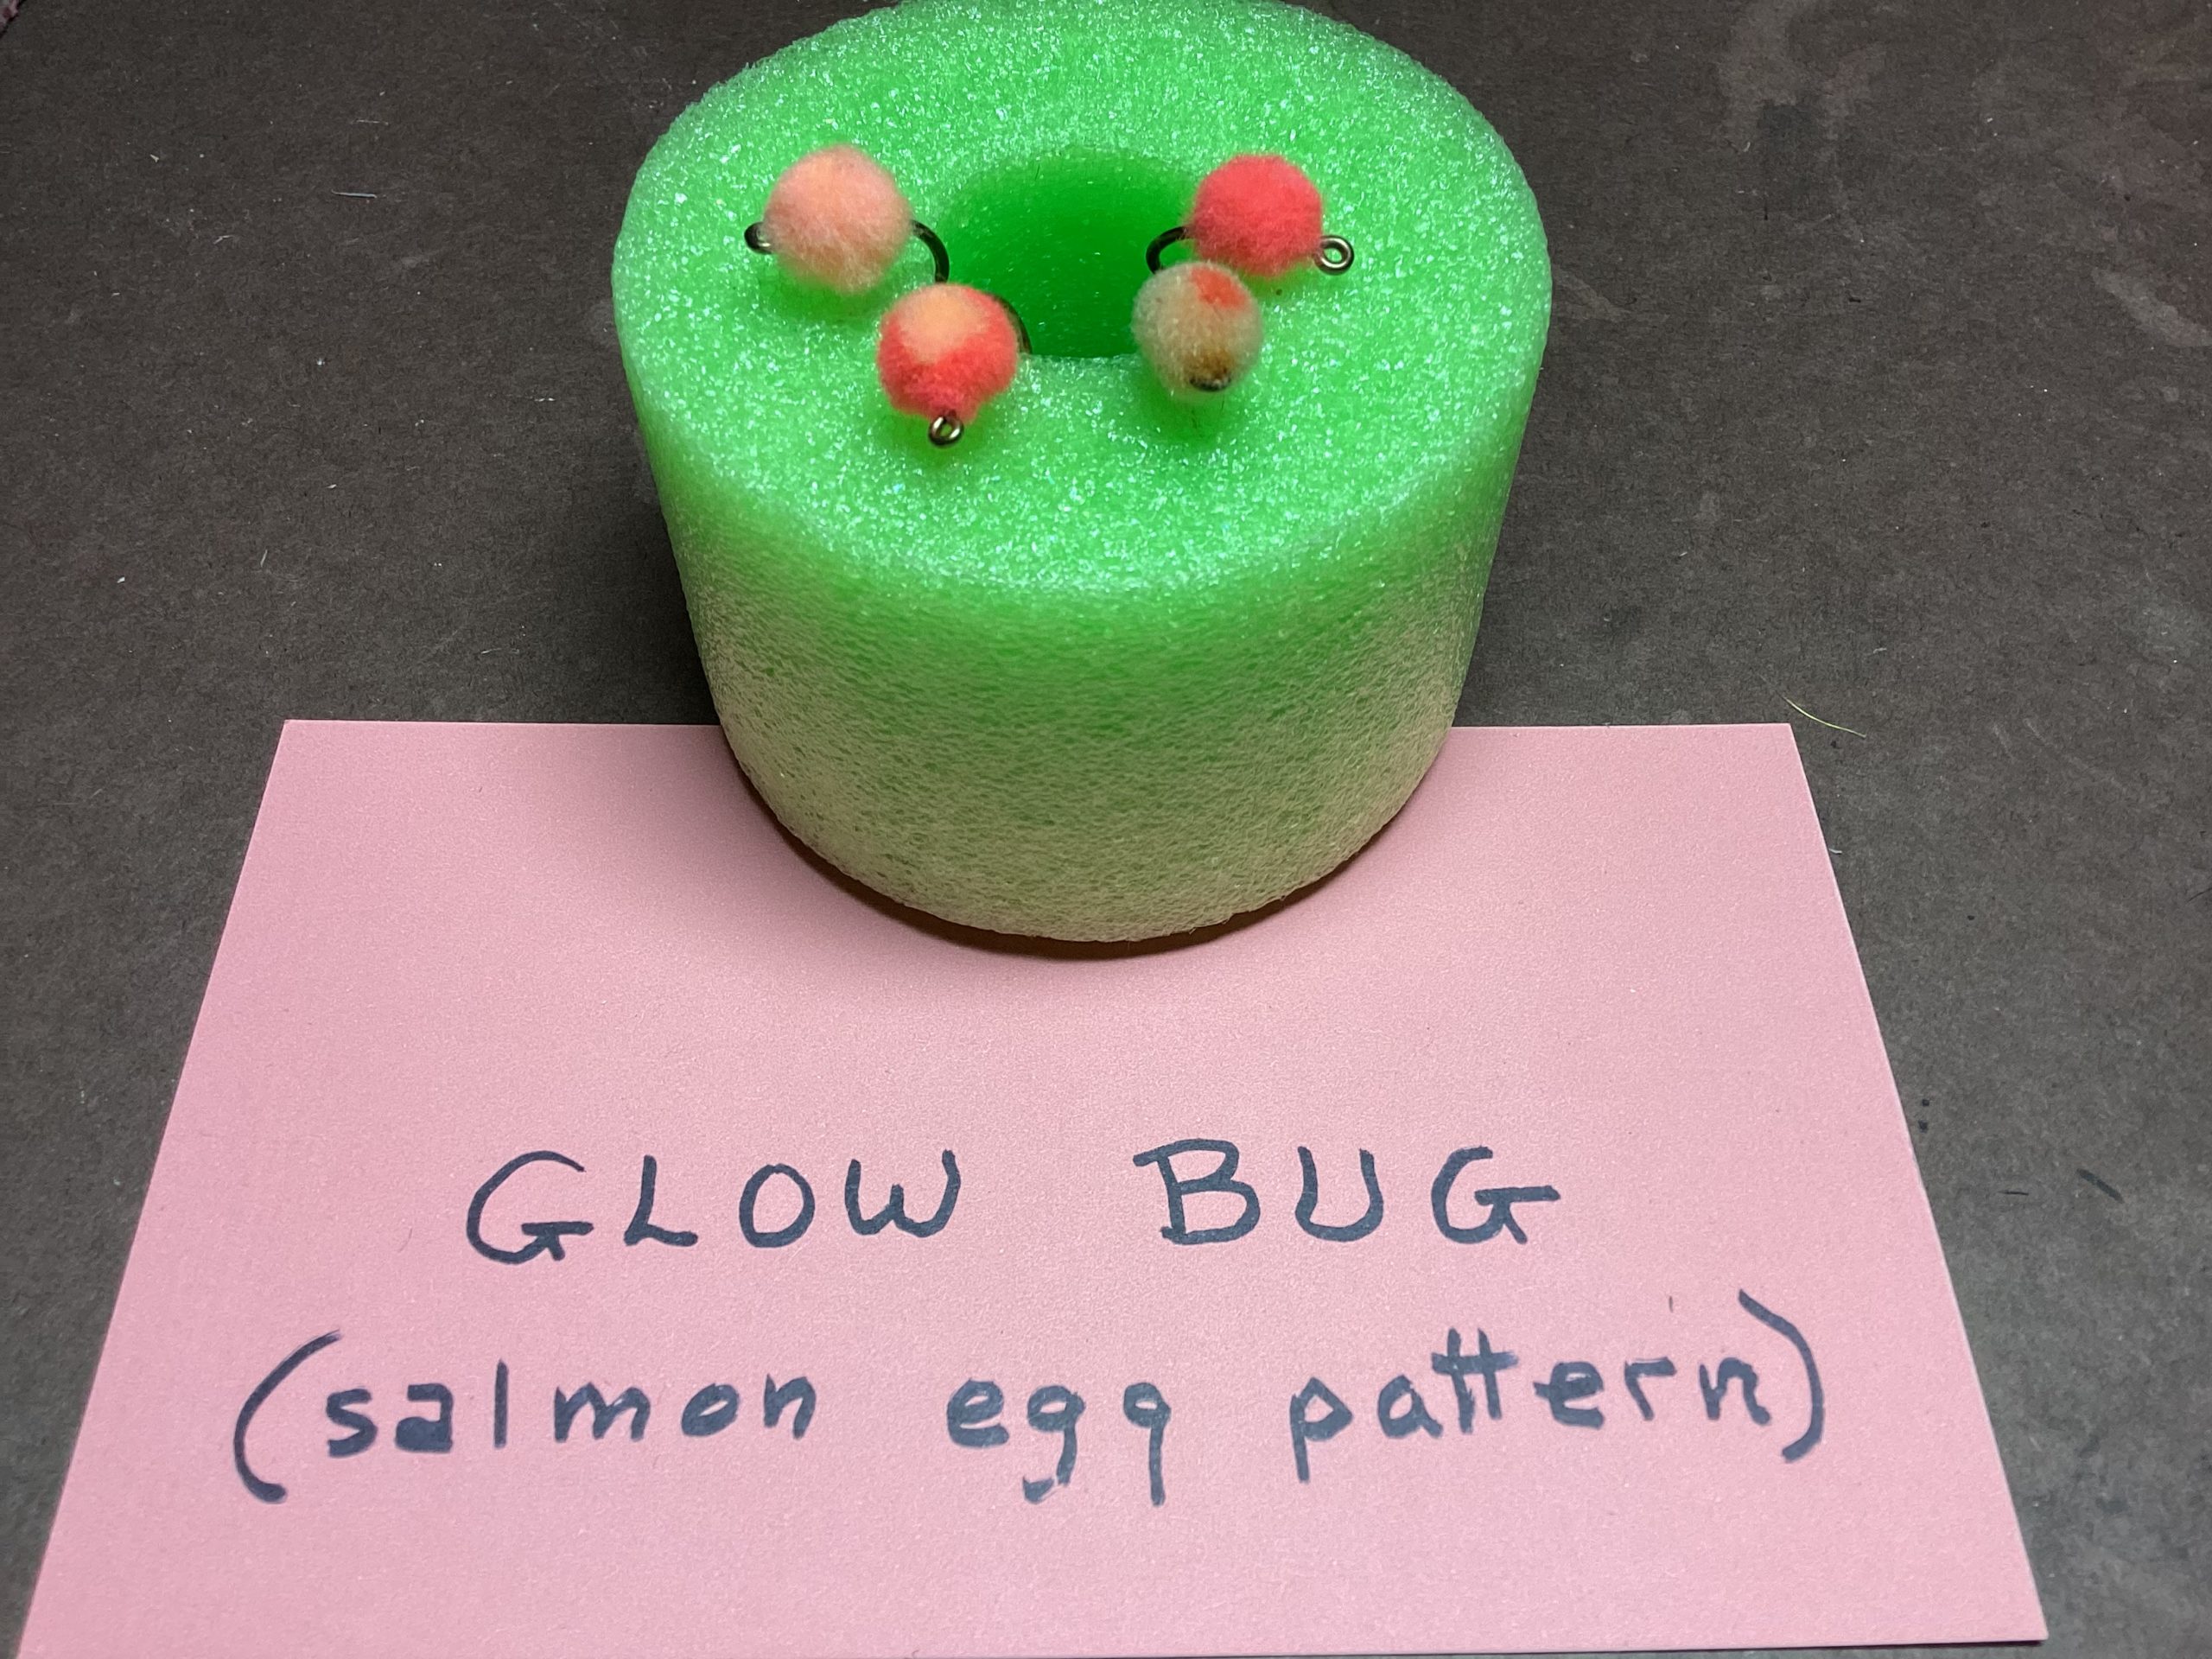
Steelhead and trout follow salmon as they spawn and readily eat their eggs. This pattern simulates them. The fly doesn’t sink well so use a sinking line, put weight on your leader, or trail the fly behind a fly that sinks well, or add a gold bead to the hook before tying on the yarn.
HOOK: Mustad 9174 or TMC 105 or Targus 105. Size 6 or 8
THREAD: STRONG: white, peach, salmon or other light color. Such As: flat waxed nylon, Danville 2/0, monochord, Gudbrod Gx2 or Ultra 149 denier.
EGG: Glow Bug Yarn: comes in both thick and thin strands. bright salmon, pale salmon, orange, peach, pale yellow, and pink
1. Crimp Barb. NOTE: a hook with upturned eye also works, but material is harder to trim.
2. Attach thread 1/3 back on shank. Cover center 1/3 of shake with touching wraps. Leave thread mid shank.
3. THICK YARN:
- Cut 3 one inch or longer pieces.
- (optional)to simulate a developing embryo, cut a 1 inch piece of contrasting color of thin yarn.
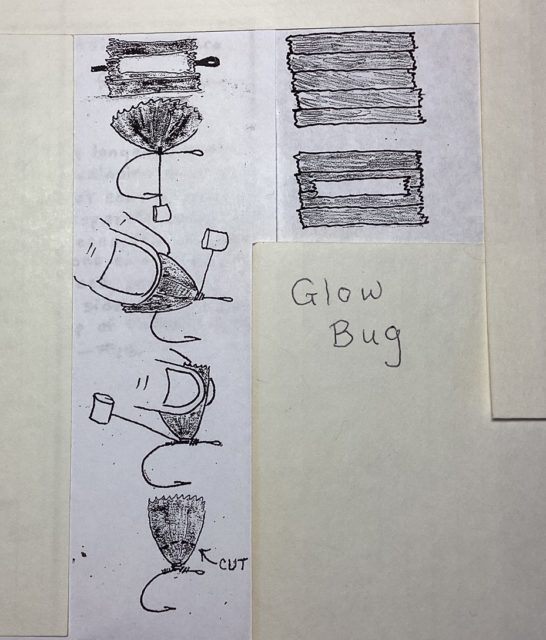
(See diagrams for upcoming steps.) - position thick yarn pieces side-by-side. If using contrasting piece, place it on top.
- pinching center of material, place on top of shank so that they are not stacked but the three thick pieces are side-by-side and thin piece on top.
- make three snug wraps, one on top of the other, keeping yarn on top of shank.
- pull all material firmly upward to be sure it is all on top of shank.
- tilt yarn to rear, make three wraps in front as close to yarn as possible.
- pulling firmly up on yarn, make three snug wraps around base of yarn.
- Advanced thread to eye.
- whip finish, cut thread, apply super glue or equivalent to thread wraps ONLY behind hook eye.
- Holding and pulling yarn upward, cut all at once in a single arc with a sharp heavy duty scissor, so that the cut corresponds to radius of egg.
- stroke yarn downward and fluff to cover bottom of shank. Finger nail or Velcro can help.
- trim yarn if needed to form a round contour.
THIN YARN:
- Cut 5 inch or slightly longer pieces.
- (optional) to simulate a developing embryo, cut one 1 inch piece of contrasting color of yarn or separate one piece of thick yarn into 2 pieces, and use one.
- position all five pieces of one color side-by-side. If using a contrasting piece, position four pieces of primary color side by side and contrasting color on top of them.
- Proceed as above with the step that starts with “pinching”.
–
–
Posted on January 13th, 2022