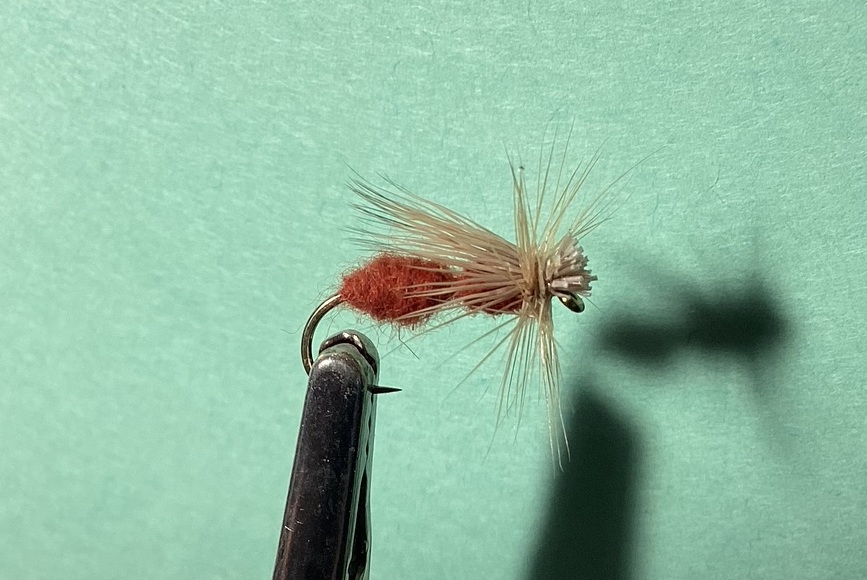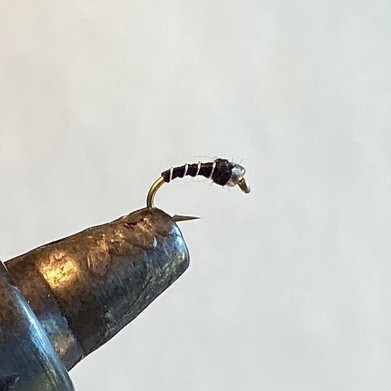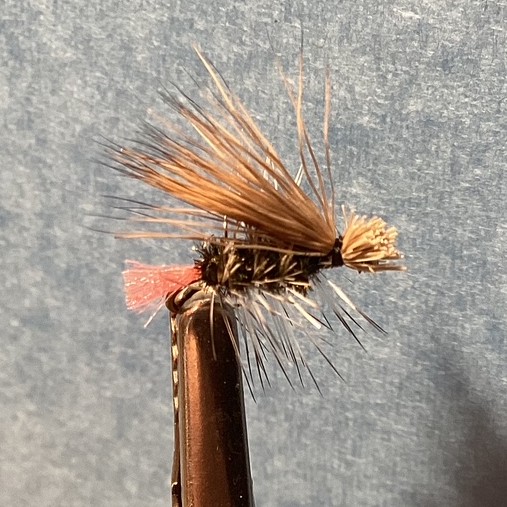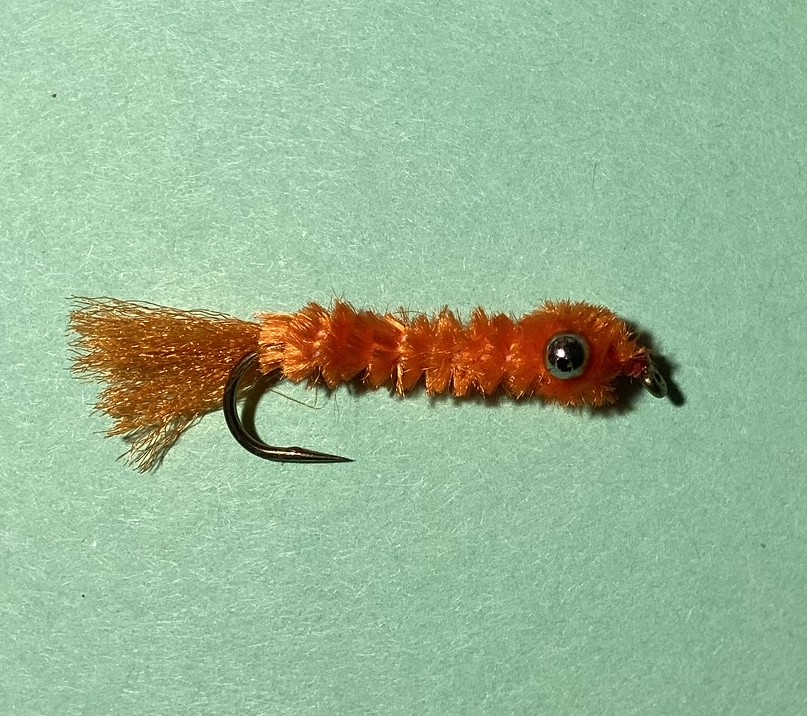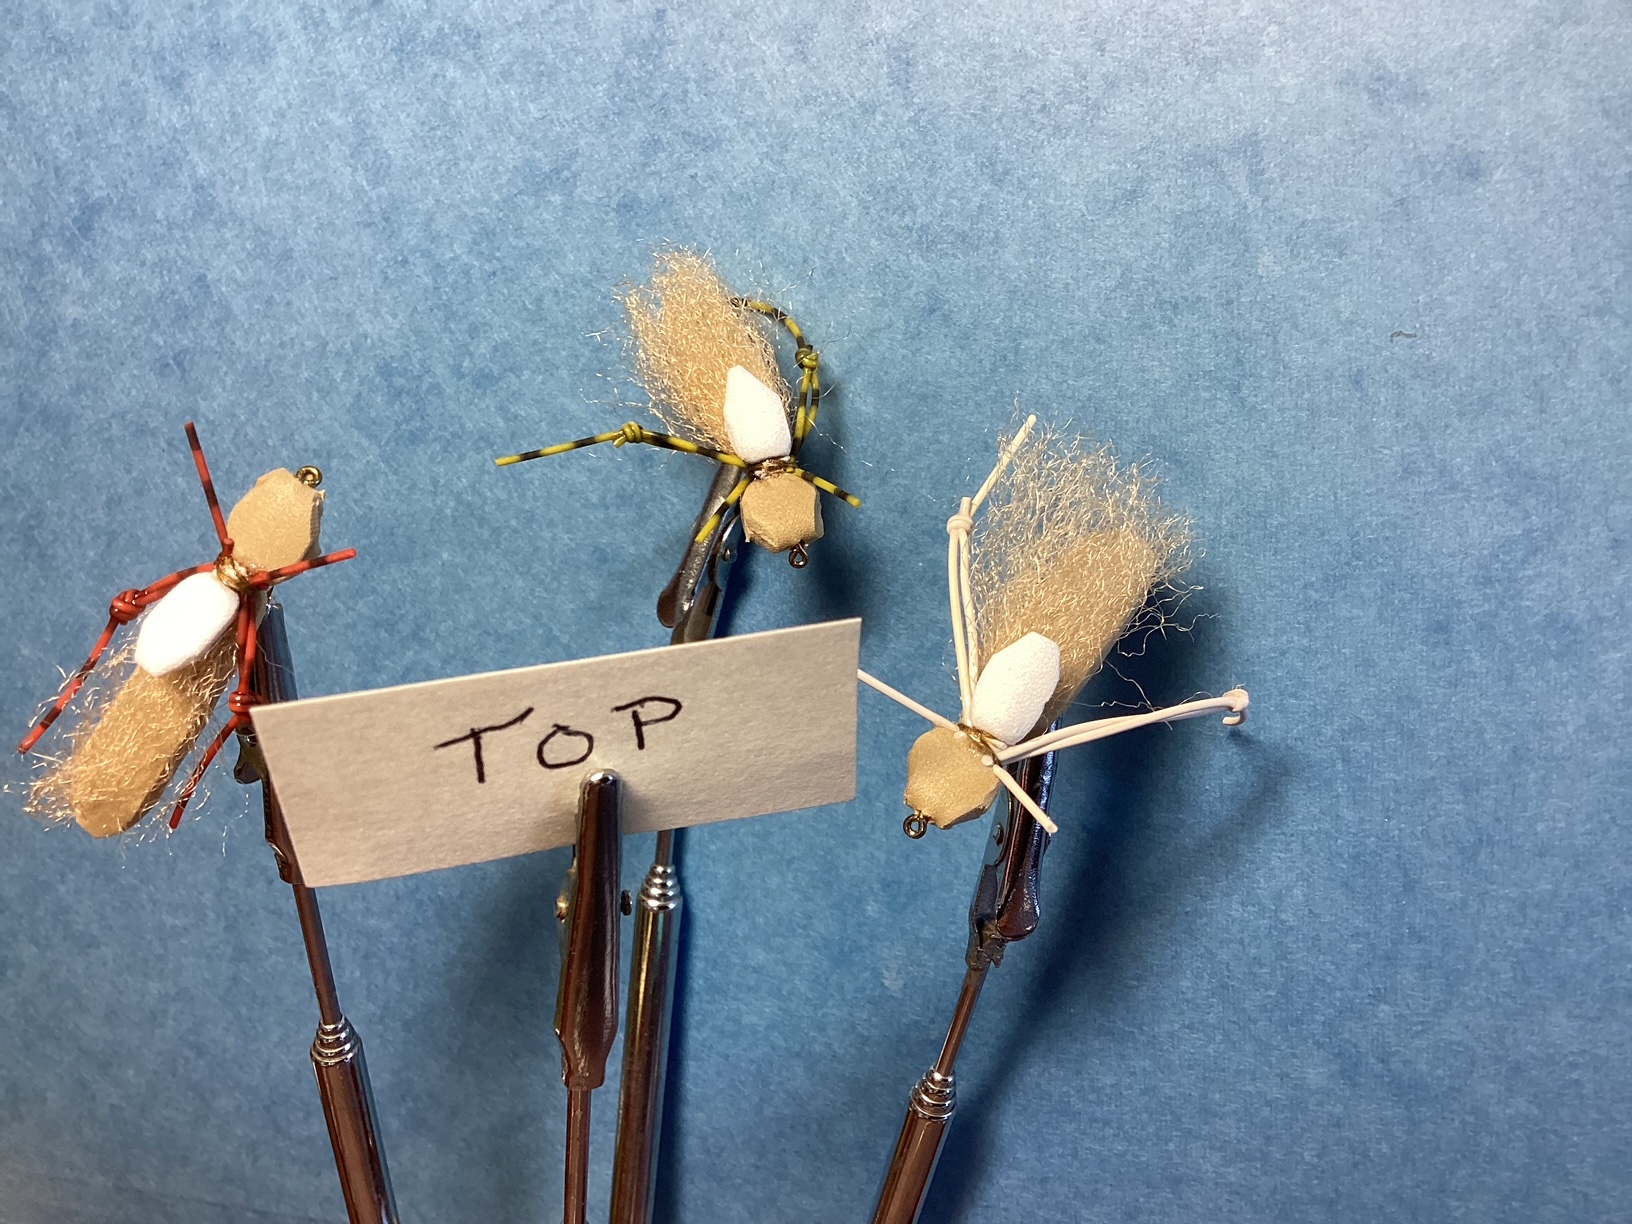
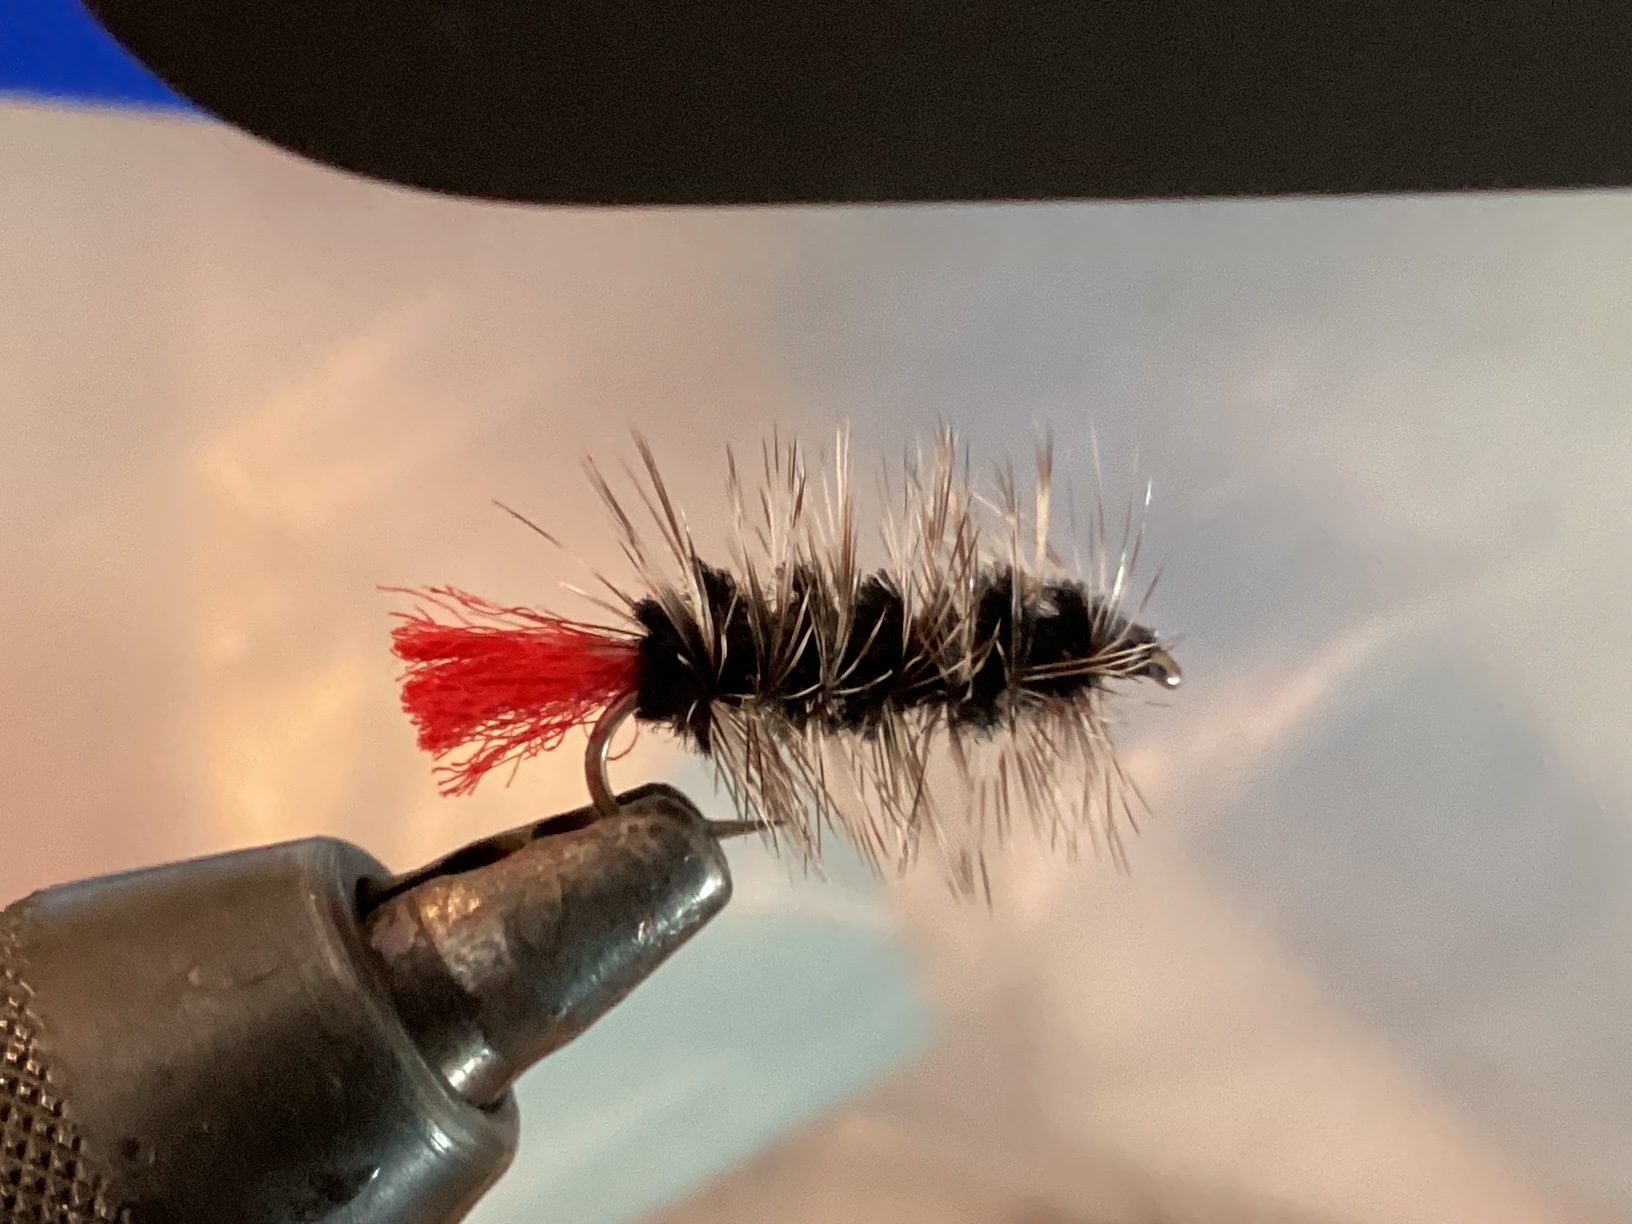
As promised, here is another easy fly to tie. Our focus remains such for several months for you beginners. This fly was originally designed to be fished on the surface for large mouth bass and bluegill. If you add weight, it can be used sub surface for a variety of fish.
HOOK: TMC 5262. sizes 8 to 14. Crimp barb.
THREAD: Black 6/0 or 8/0 depending on the size of the hook. Attach one eye length behind hook eye. Touching wraps to above hook tip.
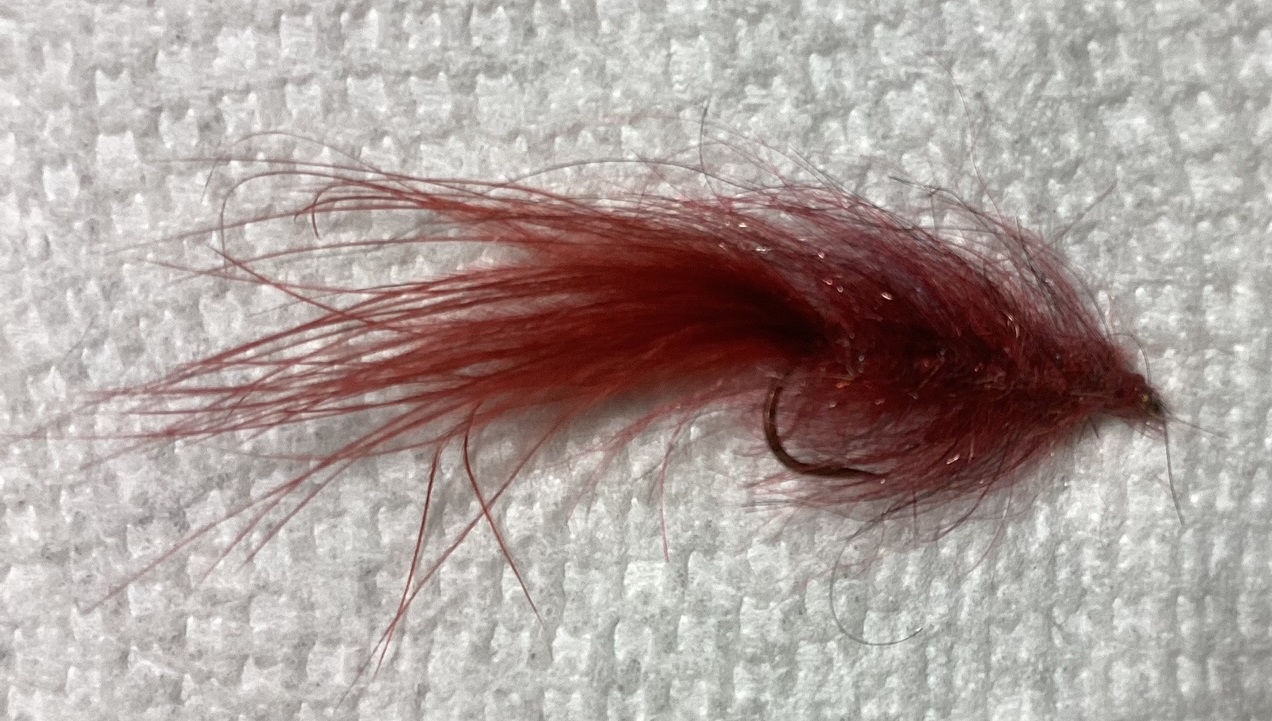
TAIL: Red yarn. Place strand on top of shank with butt end at thread tie in. Tie in place up to butt end and back again to above hook point.
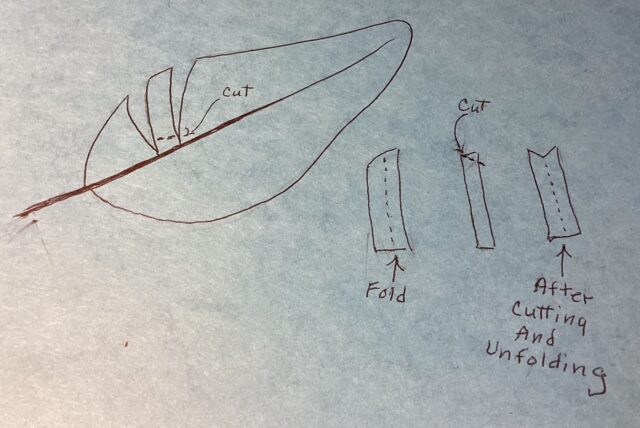
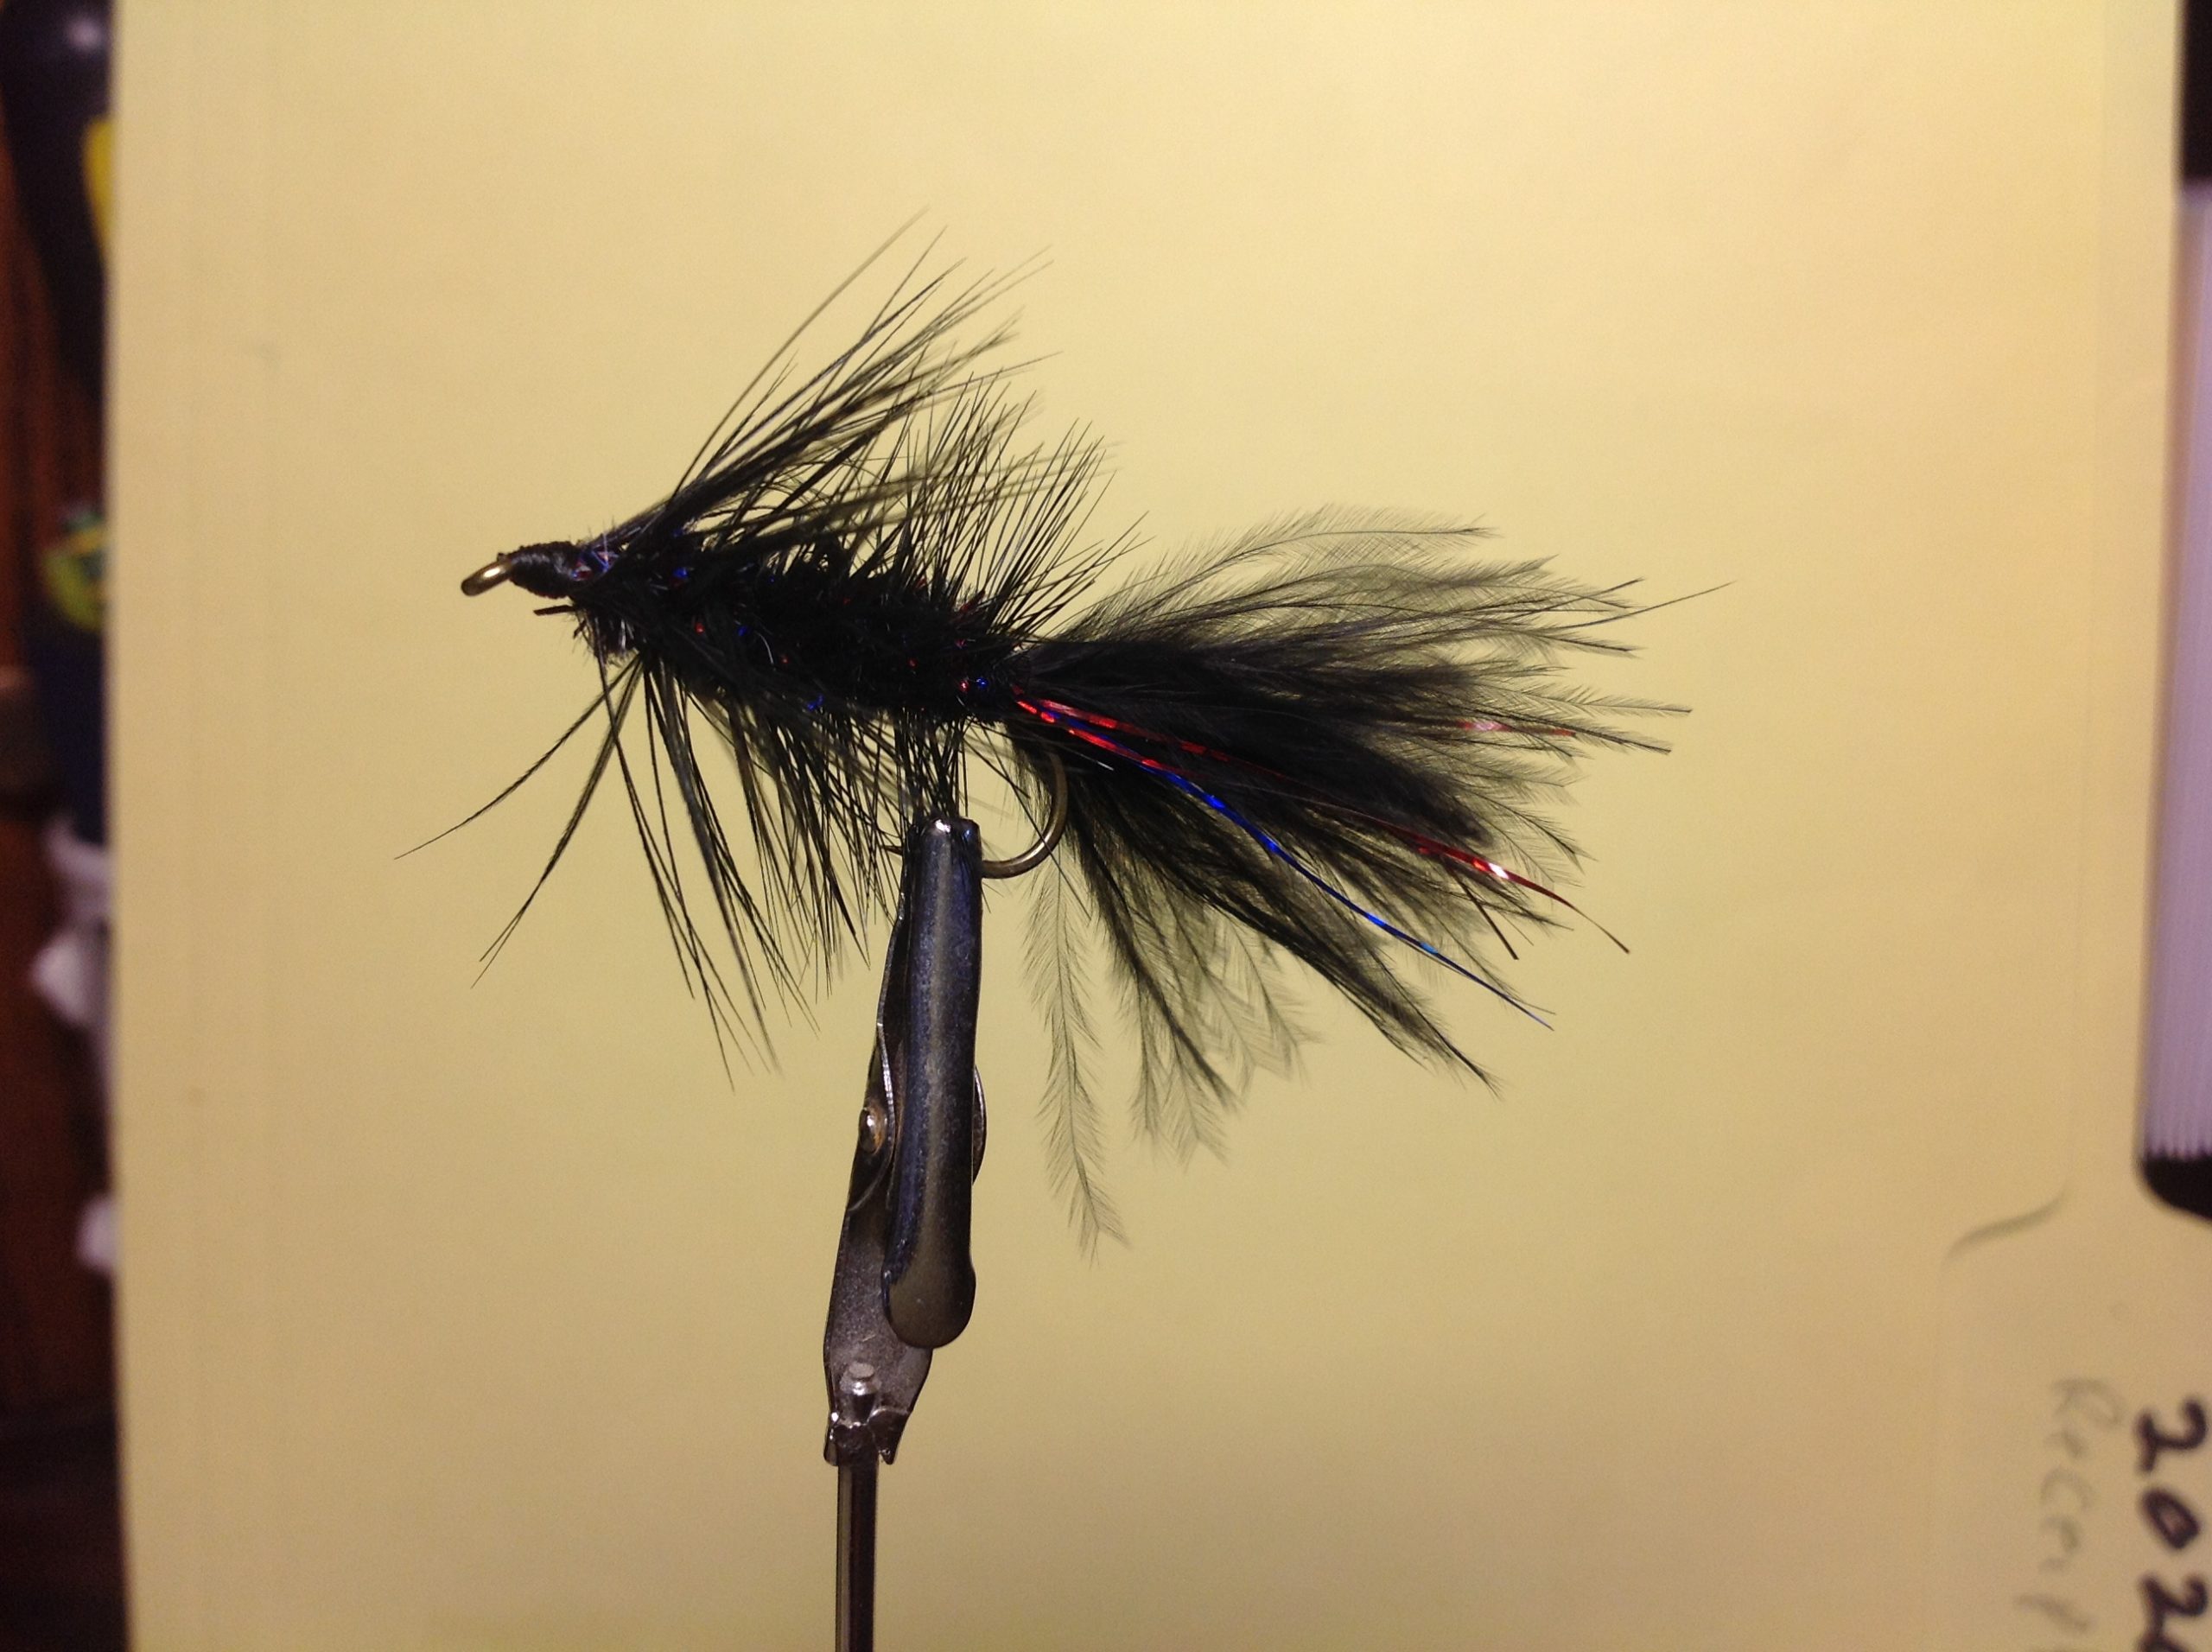
HACKLE: Grizzly (Barbs slightly longer than hook gap). Cut off fuzzy end,/Barbs and butt and against the grain, cut 4 to 5 bars, short on each side of the stem (Forms a crew cut). Lay crew cut on top of tied down yarn, dark side upward, tip to rear. Tie crew cut in place.
BODY: Medium sized chenille, Black or yellow. Pull fibers off end exposing about 1/4 inch of threads. With chenille extending to the rear, tie in exposed threads on top of Crew Cut. Advanced thread to one eye length behind eye. around shank with touching wraps up to hanging thread. Tie off, cut excess. Spiral wrap hackle forward 6-8 times. Tie off, cut excess.
HEAD: Holding barbs back, tie a small thread head. Tie off ,cut excess, Apply small amount of glue to head.
Posted on May 27th, 2026