
Posted on March 22nd, 2020
Posted on March 22nd, 2020
“Often when you think you’re at the end of something, you’re at the beginning of something else.”
Fred Rogers
Posted on March 22nd, 2020
Sometimes we forget how easy we have it. Amid our crazy life schedules, we tend to take for granted that purified bottle of water when thirsty, or the push of a button to light a fire. But it’s important to remember that in the blink of an eye, it can all be gone. The unexpected happens, you get in an accident or lose your way; now, it’s just you and the wilderness with no ties to civilization. Here are ten basic survival tips to get you prepared- just in case.
Please, please, please tell someone where you are going before you set off for a trip. No matter where you go, even if you end up stranded unexpectedly, you started from somewhere in civilization. Tell close friends and family where you are going and if you have a specific route or amount of time you will be gone.
Keep your head on:Now is the time to be calm and think positive. It doesn’t sound like much, but optimism goes a long way, and in a survival situ-ation, it starts with you, your attitude and your will no matter how scared and alone you may feel. First, keep a realistic outlook and diligently plan to keep yourself in the best possible physical and mental state. If something isn’t working out, like building a fire or shelter, don’t rush, because that can lead to panic. Stop, breathe and think about what you need, observe your surround-ings and organize a new plan.
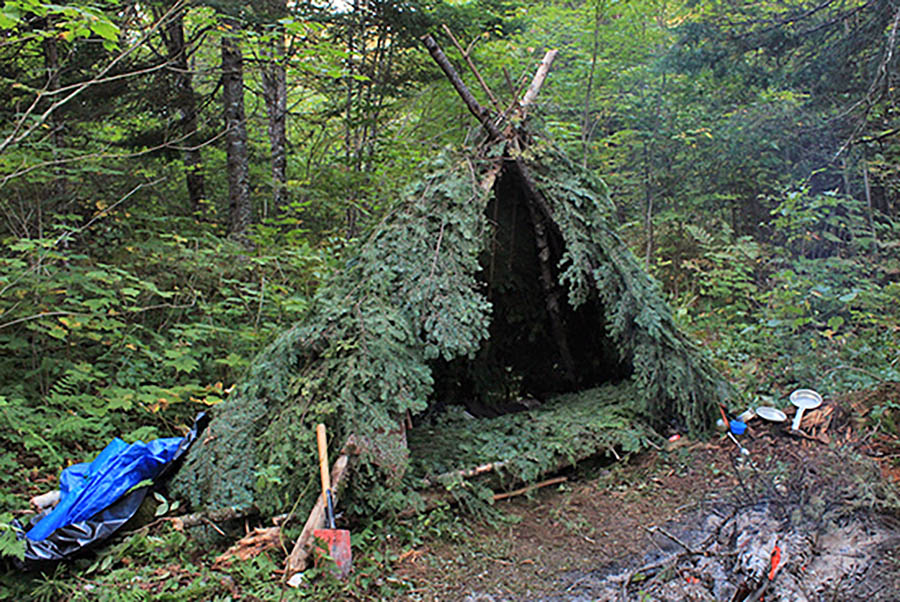
Take inventory:Keep everything you’ve got, because the second plans go south, these items will become your most prized possessions and could save your life. Don’t underestimate the worthiness of even the smallest knick knack-inn Gary Paulson’s classic, The Hatchet, Brian Robeson used his shoe lace to make a nifty bow and arrow for survival!It’s time to get creative. Familiarize yourself with how to build a lean-to; there are various types of shelters you can build and each has different pros and cons. Obviously you want overhead covering for warmth at night and protection from the elements. If you are in rocky, mountainous terrain, look for overhangs. Otherwise, use limbs and leaves or anything that can provide in-sulation. Pine needles usually blanket the ground in thick batches, excellent for bedding.
Your body will not last more than three days without water. If you are lucky enough to be near a body of freshwater – good for you, just make sure to boil before quenching your thirst. No water in sight? Continue your search and construct a rain catcher or water still.10 Tips for Wilderness SurvivalFrom https://blog.theclymb.com/tips/10-tips-for-wilderness-survival/Keep that belly happy: Things can get frustrating when it comes to finding adequate sources of food when you are in survival mode, especially since malnutrition will work you mentally and physically, making you feel weak, cranky and delirious. It’s a good idea to get familiar with edible wild berries and plants for future reference when out in the wild. Also, it’s time to grow up and ban-ish the word “picky” from your vo-cabulary. When it comes to survival, embrace anything and everything (carefully) including bugs, eggs, fruit, leaves. Learn to build some simple traps to catch small animals and don’t rely on just one single food source. Protein is important for strength; know what various nutrients your body needs for prime sustainability.
Light that fire:Those glowing red flames provide light, cooked food, warmth and protection from predators and pesky bugs. Here are a few tried and true techniques for conjuring that mighty blaze:
Fire Plow – http://www.hollowtop.com/spt_html/fireplow.htm
Bow and Drill – http://www.wildwoodsurvival.com/survival/fire/bowdrill/pmoc/basicbowdrill.html
Lens Method – http://www.wildwoodsurvival.com/survival/fire/magnifier/
Fire from Ice – http://wildwoodsurvival.com/survival/fire/ice/rb/rbfirefromice3a.html
Soda Can and Chocolate – http://wildwoodsurvival.com/survival/fire/cokeandchocolatebar/
Battery method – http://www.wildwoodsurvival.com/survival/fire/battery/
Keep a pocket knife, or multi-tool with you at all times, because you never know when you will need it- and when you do need it, you will rejoice that you have something to cut, protect and prepare food- even if all you have is a crappy, little knife. Keep it sharpened.
H-E-L-P:Survival is your first priority, but don’t forget – you need to get rescued as well. Come up with an action plan in case a plane flies overhead or there are search parties nearby. You’ve seen it in the movies – prepare a giant, easily visible fire pit out in the open or lay out stones in the pattern of HELP or S.O.S. You can also use any shiny, metallic object for reflection purposes.
It’s a good idea to have a compass with you at all times, but if not then what? Get old school and use the stars- it’s a lot easier than you think. Also, keep note of rivers, paths or mountains – follow-ing these can lead to roads and civilization.
Posted on March 22nd, 2020
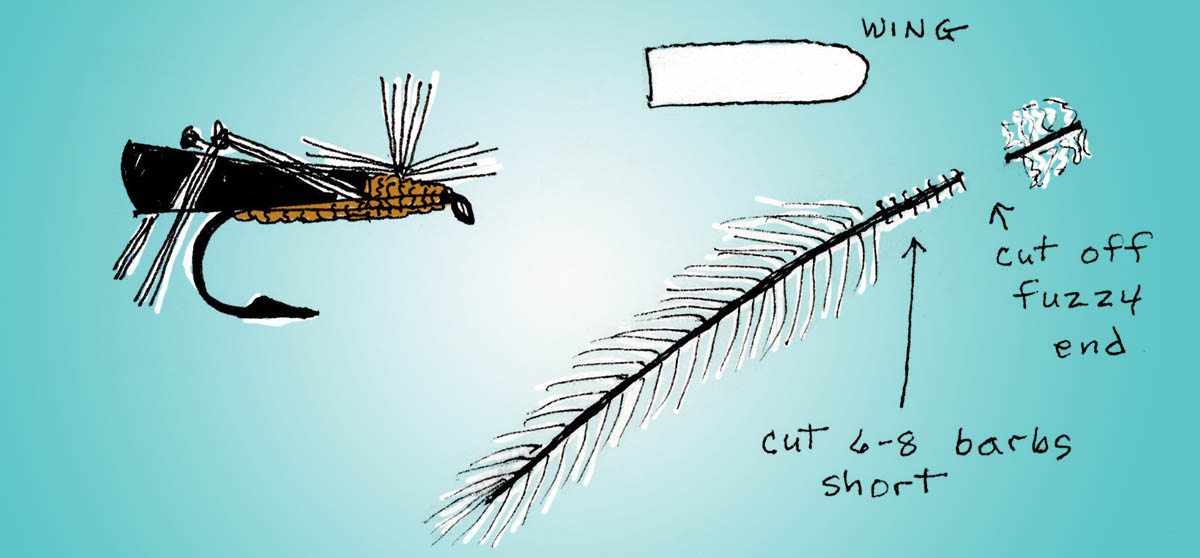
It’s never too early to get ready for summer with a few hoppers. This old pattern continues to be very effective and has an entirely different profile than foam patterns.
Hook: TMC 5262 or 5612, sizes 6 – 12
Thread: Tan 8/0
Post: White calf body
Body: Golden brown Antron dubbing
Wing: Mottled turkey quill feather
Legs: Ringneck Pheasant tail feather
Hackle: Grizzly, barbs 1 1/2 – 2 times hook gap
Thorax: Same as body
Posted on March 22nd, 2020
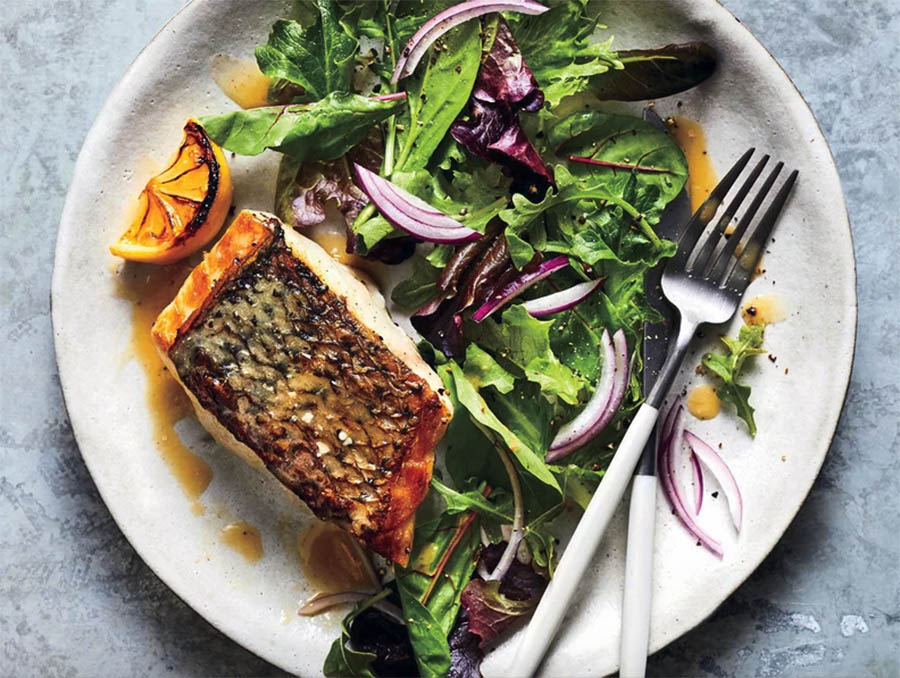
If you find sea bass to be strong-flavored, remove the pan drippings from the skillet before making the sauce for a milder final product. The wine-butter sauce is a good complement to the dish, especially with caramelized lemon notes.
Ingredients:
4 (5-oz.) skin-on striped bass fillets (either hybrid striped bass or wild), patted dry
1/4 teaspoon black pepper1 teaspoon kosher salt, divided
1 lemon, halved lengthwise3 tablespoons olive oil
2 tablespoons dry white wine
2 tablespoons cold unsalted butter
2 tablespoons chopped fresh parsley
Directions:
Posted on March 22nd, 2020
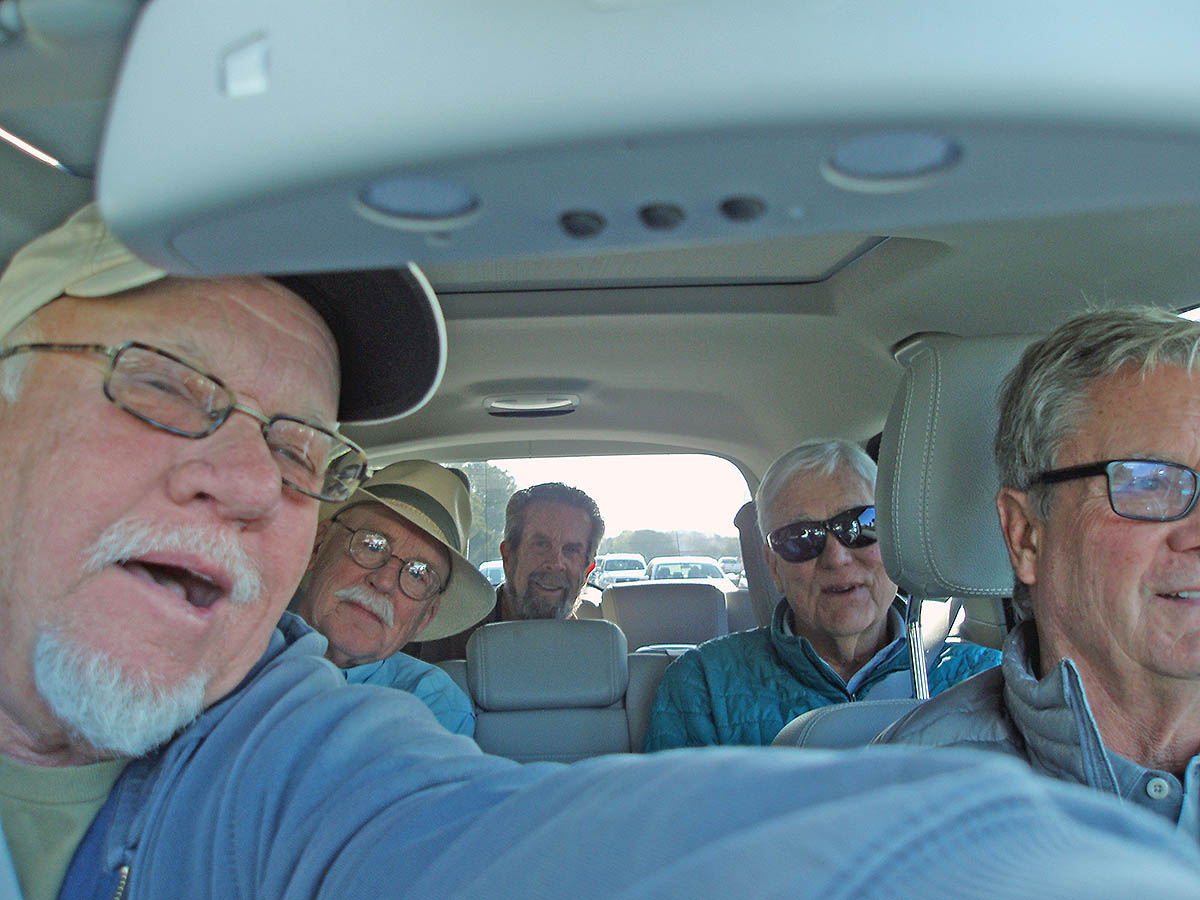
We had a great day roaming the building to find things to buy, attending a couple power point lectures and getting the gear we want for the trip to Pyramid Lake in March.
The tailgate party actually had a tailgate, Jim brought his own smoked salmon caught off the4 Play last summer. The color and taste of local fish is the best.
We all brought sandwiches and coldbeer and snacks to share. The tuna jerky was pretty strange, we agreed later.
To miss the traffic mess home, we went to the Hopyard Brewery/restaurant for sliders andPliny the younger or elder beer. Thanks to Jeff (Yog) for designated driving Jim Tolonen’s car home,and to Sam Bishop who had us over for a cold one, he drove in his truck and therefore is not in thephoto. We saw many club members there and friends from other places. It was like a reunion feeling all day.
Posted on March 22nd, 2020